- Our Bakery
- Video
Our Frozen Dough? It’s Really Cool! Watch the Video

We’re thrilled to bits about the growing popularity of our frozen dough pieces. By all accounts it’s looking like a seriously desirable product, loved by more foodservice end-customers every day as they realise the amazing potential of this deceptively simple idea.
Here’s what you need to know, in a video starring our very own National Accounts Development Chef Neil Smith. Here, Neil introduces Speciality Breads’ cool new range of frozen dough pieces.
There are four large versions of our dough pieces, namely multigrain, brown, brioche and white. They’re each big enough at 470g starting weight to make a splendid loaf. Our smaller frozen dough pieces also come in an exciting choice of bread styles, the same as the large sizes with the addition of a lovely spiced fruit bun. They weigh in at 55g for the small brown, multigrain & white, 60g for the small brioche, and 80g for the spiced bun.
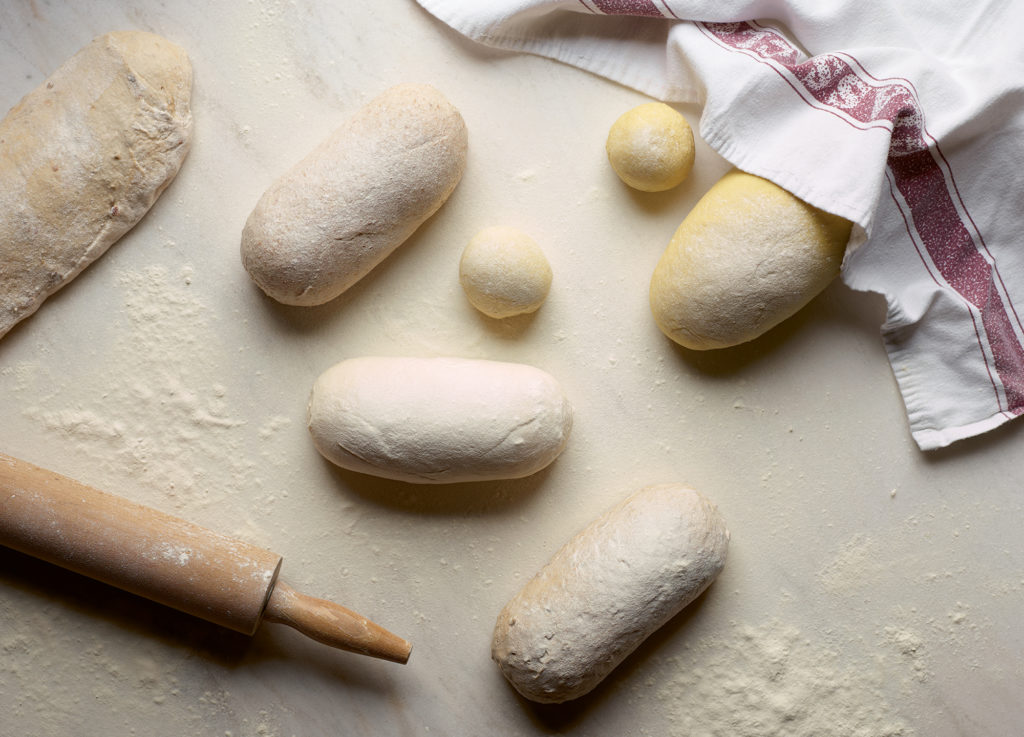
They’re all remarkably simple to use as well as a pleasure, opening a new world of bread-led creativity to the owners of cafes and restaurants, gastro pubs and bars, employee canteens, in-store eateries and more. You can mould them into any shape or style of bread you like: loaves, rolls, bloomers, baps, you name it. In fact it behaves just like any other dough, the only real difference being it’s perfectly formulated to be ready whenever you’re ready to bake, with no fuss or bother. Here’s the low-down.
How to defrost our frozen dough pieces
Defrost your pieces the night before on a floured tray in the fridge, leaving it overnight. Or defrost it in a cool room, not too hot or you’ll kick off the proving process too early.
Proving your defrosted dough pieces
First, decide what you want to make. Then break up the dough into the right sized chunks. The cover it in clingfilm and put it in a warm place or in an actual proving oven – the large pieces need proving for an hour and the smaller pieces thirty minutes. Once your chunks have doubled in size and become nice and plump they’re proved, ready to embellish and bake.
Getting all creative
Now’s where your own unique creativity comes in. You can top your dough with a dusting of flour, add an eggwash for a gorgeous crusty finish, sprinkle a generous layer of poppy or sesame seeds. You can create simple splits or fancy cuts on top, plait or weave it, glaze it with delights like marmalade or lemon curd, add nuts… the world of great artisan bread is your oyster, and it has never been so much fun, or so easy.
Baking your mini-masterpieces
Ready? Bung your masterpiece in the oven at 220 degrees and get busy with a steamer. If you don’t have one, place a tray in the bottom of the oven with a small amount of boiling water in it for the same effect. During the first few minutes of the baking process bread rises fast as the gases inside the dough expand, something called ‘ovenspring’. Steaming at this stage helps keep the crust soft so the bread can expand with ease, without cracking or splitting.
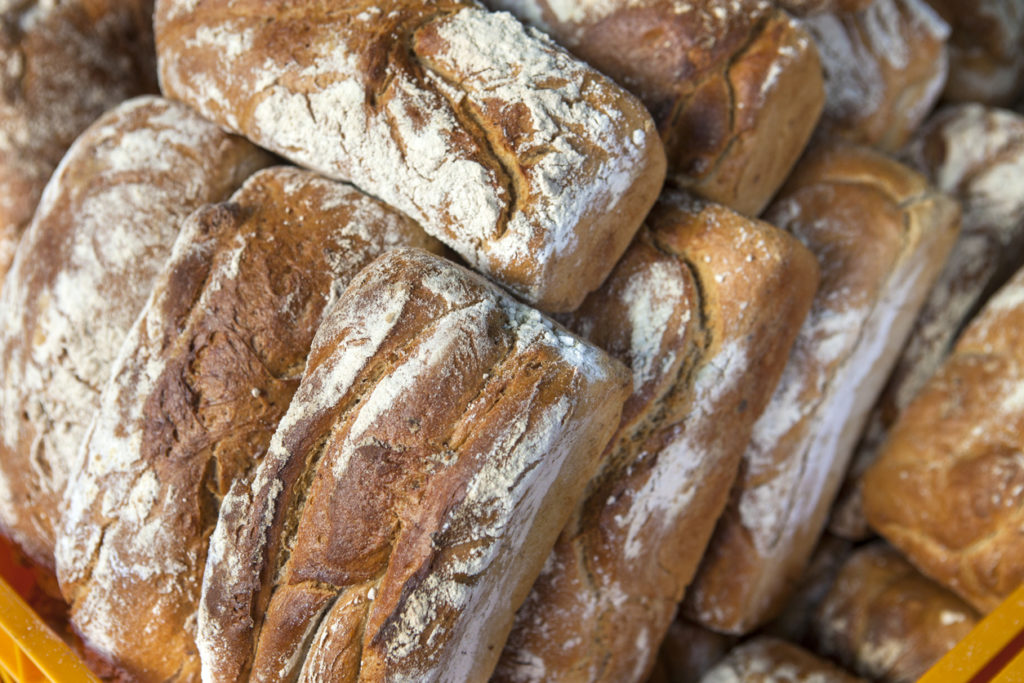
Bake your bread for 18-20 minutes, removing the steam five minutes before the end to create a lovely, crisp crust. The result? A lovely colour and a beautiful aroma, that magical fresh baked bread scent that people all over the world just can’t resist.
Check your bread is thoroughly baked before taking it out of the oven for good, bearing in mind that over-baking tends to be better than under-baking. And voila… your tin loaves, rolls, focacchia, pizza, spiced fruit buns, hot cross buns with a lemon curd or a marmalade glaze, or whatever other earthly delights you’ve created (you clever thing) are ready to eat.
You’re only limited by your imagination. How cool is that!


